Well, where to start with this one?
This problem originally started with what we thought was an injector issue and although we were not wrong in that diagnostic as it turned out one of the injectors was bone dry and all carboned up it was clear it had not been working correctly this seems to only half fix our issue. It became a lot more reliable in starting which gave us hope for the pump after believing it might have been the pump itself that had gone.
We then noticed while doing the injectors we had an issue with the way the pump was mounted as there was a lot of movement on the pump which gave way to a new set of issues. we tighten the pump up and this then made the fuel return line snap and sheer off. We then without difficulty wish replaced the fuel return line with a brand spanking new one which Shaun found was a whole load of fun to remove and replace and with much swearing and wondering Why? he managed to do it. Once tight and with a little help we managed to get the bus to fire into life again. We thought great it was sorted. No Wrong!
We used the vehicle for a while and the pump kept coming loose we kept tightening it we got to the point where we thought we had sorted it once and for all after we clocked up a good few days of running without issues from the pump we was like yes it done we got it sorted and we now have a good running bus.
However, a few days after this the pump came loose again so we tighten it again on this day though it was a little different once tighten the vibration was still there it was so much worse than normal the whole pedal was vibrating and at idle it was running like a bag of spanners we could hear the pump vibrating from the front. When under load it wasn’t too bad however idle was bad and we were wondering if we would make it back to the yard.
The day after we went to investigate the issues with the pump trying to tighten it and actually find the issue with the pump and why it kept coming loose to our horror we found a small bit of metal near the bolts that hold the pump on. We investigated this further to find the horror was coming true and it was off the pump but where from? well, it was the housing of the pump right by the nut we had been tightening up. but it gets worse!


With the prospect that the fuel pump no matter what needed to come off the bus to be replaced or have the housing replaced Jordan set about with some advice from Town and District and others removing the pump. We will say without the help and advice from Ian and Johnathan from Town and District Transport Trust this job would have been a lot harder and we really would not have known what we were doing.
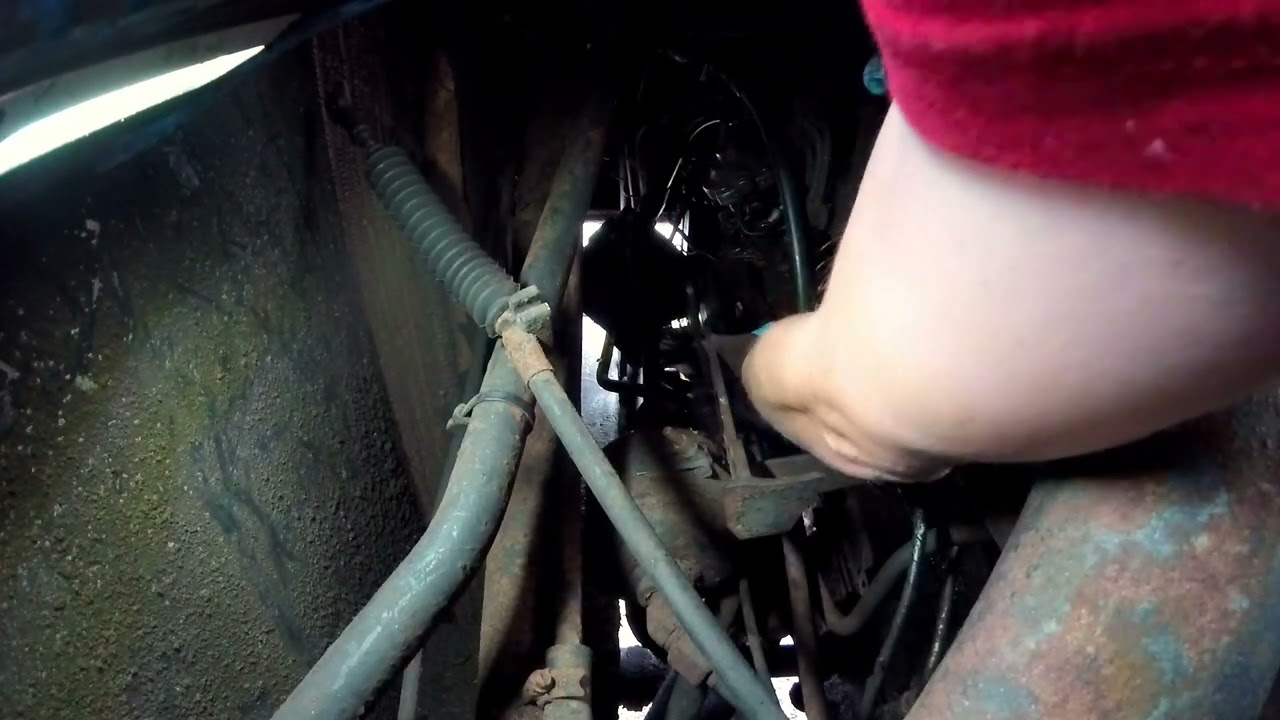
Jordan removed everything, Throttle linkage and the fuel pipes by the time Shaun decided he would arrive to help out. The help was needed though as the video will show which will be added to the end of this post when it is released. The horror carried on though as we got ready to remove the pump with all the pipes of the nuts that hold the pump on accessible. There are 3 nuts that hold the pump on the Left, Right and Bottom of the pump as you look that the pump from the engine bay the nut that is on the Right was the one with the broken mount so wasn’t holding anything on. Getting the 3/8 drive 10mm socket onto the nut on the right to discover the nut wasn’t that tight. Finally, we wondered how the hell we were going to get to the one under the pump without something like a moon spanner however with all the fuel pipes removed it was rather easy not to get a spanner on but to our disbelief, the nut was so loose it came off by hand all the way.
That then just left the timing cog to be removed which will free the pump from the engine. It is very important that you mark the cogs to not lose the timing of the engine before we start any of this we marked the cogs with a little bit of paint where they were so we could put the timing back. We didn’t however have a clue how to get it off so after much messing about Shaun got a tool from home which was supposed to pull the cog off the sprocket it was on. This didn’t work then a brain wave came there are 2 10mm holes that if you put 2 nuts in and slowly tighten them against the engine free the cog from the sprocket with that the pump slides out and it free from the Cummins engine. This is when we could truly look at the damage to the pump and get the numbers off it.

There is 3 ways we can repair this option 1 is a total brand new pump at a cost between £600 to £1000
option 2 a refurbished pump which is £400 to £500
and Option 3 is to buy the case for around £100 and have someone transplant the pump from its broken case to the brand new pump.
Can you guess which option we are choosing, Yes you got it we are attempting option 3 we have a few people that we know that can rebuild the pump? Chris our man of wisdom has an old work buddy that worked on these Cummins engines and fuel pumps who at the moment is willing to do the job for a few beers and help us rebuild the fuel system after. We also have Shaun’s dad who is willing to take his time and slowly do the job too he has worked on fuel pumps before but nothing the size of the pump we have so is sure he can do it. So we have a few options and we would rather attempt the replacement case at £100 than fork out for a brand new pump when the pump itself is in good working order it is just the casing that is broken.
For now, this is the end of this story as we are awaiting the parts and things to happen further posts will be made as the pump is rebuilt and put back on the vehicle hopefully with fingers crossed with success.